

You might overlook RV roofline marker lights during routine maintenance because of their small size. Once one goes dark, you will likely notice the missing light. These lamps help other motorists see the upper edges of a large RV at night. They also complete the exterior lighting setup that drivers depend on during poor visibility.
If you wonder why you should use low-profile LEDs on RV roofline markers, start with their compact design. Smaller LED marker lights provide useful visibility without adding a bulky housing along the RV’s edge. If you are replacing aging roofline lights, this combination can make compact LEDs an appealing upgrade.
Why RV Roofline Markers Matter
An RV presents a much larger shape on the road than a passenger vehicle. At night, other drivers need enough visual information to recognize where that body begins and ends. Roofline marker lights contribute to that outline.
This feature becomes especially useful when another vehicle approaches from a distance. Since the main taillights sit much lower on many motorhomes, upper marker lights help reveal more of the RV’s height.
Good roofline lighting also proves important during bad weather. Rain reduces contrast around the vehicle’s body, so a functioning marker light gives surrounding traffic another visible reference point.
Why a Low-Profile Design Makes Sense
Roofline components constantly face the elements. Anything that extends farther from the body creates more surface area that may catch on objects during travel or maintenance. A lower-profile marker keeps the light closer to the RV.
That smaller footprint helps avoid tree branches at campsites and reduces interference during roof washing. Compact marker lights also fit neatly into narrow mounting locations.
Small Does Not Mean Unimportant
The housing size does not determine the light’s importance. A compact marker still needs to remain visible and secure. Treat it like you would any other exterior lighting component. Proper installation matters just as much as the lamp itself.
LED Suits Life on the Road
Traditional incandescent lamps create light through a filament, which eventually wears out. Vehicle vibration can also cause failure over time. LEDs use a different lighting technology that does not rely on a fragile filament, making them well suited to vehicles that experience regular movement on the road.
An RV will encounter vibration even on an ordinary highway. Rough campground roads also create movement. If you install dependable LED markers, you reduce the frequency of routine bulb replacement.
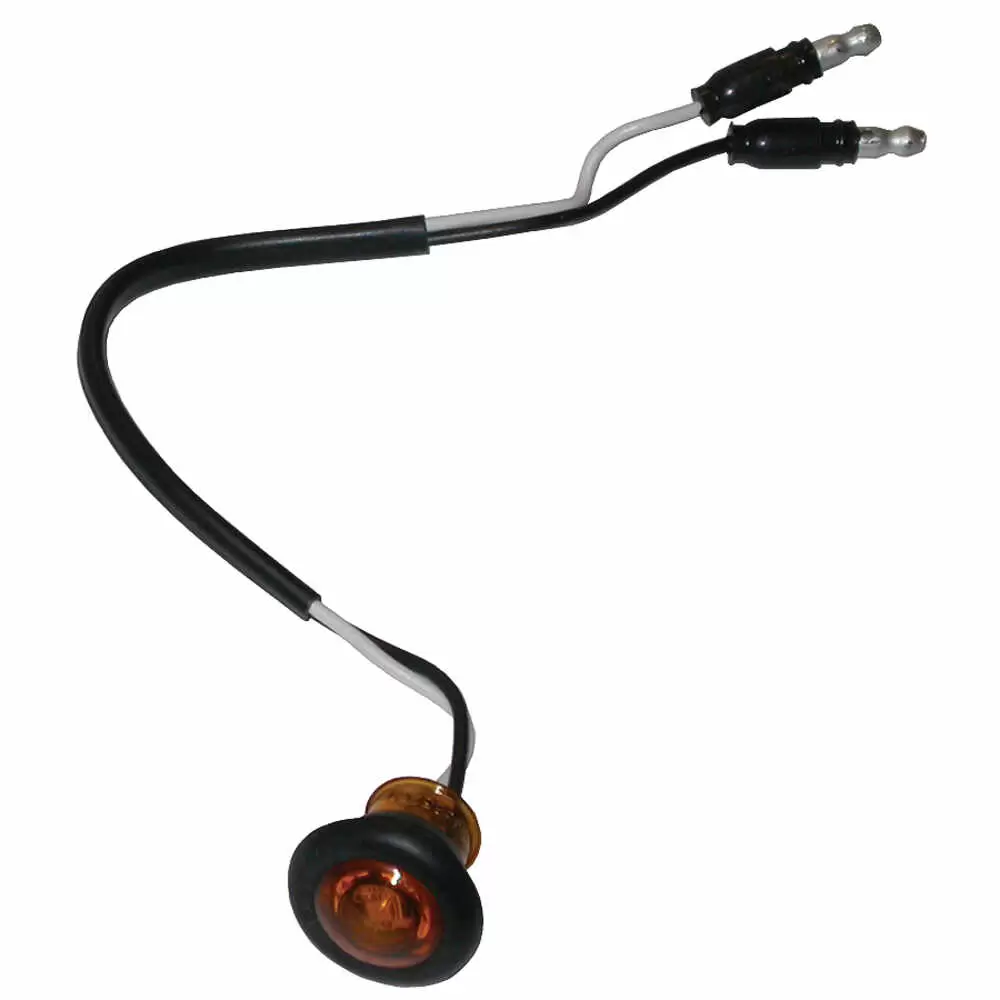
Grommet-Mounted LEDs Offer a Compact Fit
You can use a grommet to hold some small round marker LEDs in the body opening. The grommet surrounds the light and grips the edge of the prepared hole, eliminating the need for a large external flange.
A good grommet sits securely in the opening, and the lamp fits inside it without excessive movement. When the dimensions match, you can keep the finished installation close to the vehicle surface. Remember that rust or damaged material around the edge can prevent the grommet from holding properly.
Inspect the Mounting Hole First
Carefully remove the old lamp. Once you remove it, examine the edge of the opening. If the surface is damaged, repair the area before installing the LED. Do not let a new light become a convenient cover for a developing body problem.
Roofline Exposure Makes Sealing Important
Roofline lights sit in an area where water intrusion is common. If a seal fails, moisture can reach the wiring behind the lamp. Depending on the RV’s construction, water may also flow farther into the body. Installing a compact LED does not automatically eliminate that risk. You still need to ensure the surrounding installation remains sound.
Inspect the grommet during replacement. If it has hardened with age, use the appropriate new mounting component. Make sure the lamp seats completely. Do not install the new lamp until you fix any leaks. Otherwise, you protect the new light while leaving the RV body vulnerable.
Wiring Condition Can Make or Break the Upgrade
LED marker lights still depend on reliable wiring. A poor connection can cause a perfectly good lamp to flicker, and a weak ground can stop it from operating altogether. Start by examining the existing connector. Inspect the wire close to the body opening. The insulation should remain flexible enough to protect the conductor.
If you find an improvised splice, inspect it carefully and do not assume it will support the new lamp. Polarity also matters with LEDs. If a newly installed light does not illuminate, verify the electrical connections before you declare the lamp defective.

When an LED Roofline Upgrade Is Worth Considering
You do not need to replace every functioning marker light simply because LEDs exist. Upgrade your system when it starts to create maintenance problems. Older housings may become brittle, or bulbs may require frequent replacement. At that point, installing a compatible LED assembly can address more than just the failed bulb.
If multiple roofline markers have aged at the same rate, inspect them all during the same maintenance session. Even if you replace only one today, knowing the condition of the others helps you plan future repairs.
Choosing the Right Color for the Location
Match the marker-light color to the function and position of the existing lighting setup. Do not change color simply because another version is available. Use the original configuration as your starting point.
If you are restoring an RV that someone has modified over the years, consult the appropriate vehicle information before you decide what belongs in each location. If you replace one failed lamp with a dramatically different style, you can make the roofline look uneven.
Here’s what to check before ordering a replacement:
- Measure the existing mounting opening.
- Confirm the color of the current marker.
- Inspect the wiring behind the lamp.
- Identify how the existing light mounts.
- Check the available space behind the body.
- Examine the mounting area for water damage.
- Confirm the replacement’s electrical requirements.
- Determine whether you need a new grommet.
These checks help you determine whether you need a direct replacement or a conversion, since changing lamp styles may require modifications around the opening. Take a photograph before you disconnect the existing wiring. It can provide a useful reference when you install the replacement.
Give Your RV Roofline a Cleaner Lighting Upgrade
Roofline markers may not be the largest lights on an RV. Still, they help the vehicle present itself more clearly after dark, and keeping them operational supports better visibility without requiring an oversized fixture.
If you’re considering low-profile LEDs for RV roofline markers, their compact size offers a practical advantage. LED construction can also reduce the maintenance associated with traditional bulb-style lamps. For aging RV lighting systems, that makes the upgrade worth considering.
Mill Supply, Inc. offers dependable motorhome RV parts that help you maintain visibility and keep your RV ready for the road. If aging roofline markers are starting to fail, replacing them with compatible LED options can give you a cleaner setup and reduce future maintenance. Shop Mill Supply for the lighting components and related parts you need to complete any repair, and head into your next trip with a system you can rely on.
Leave a Reply