
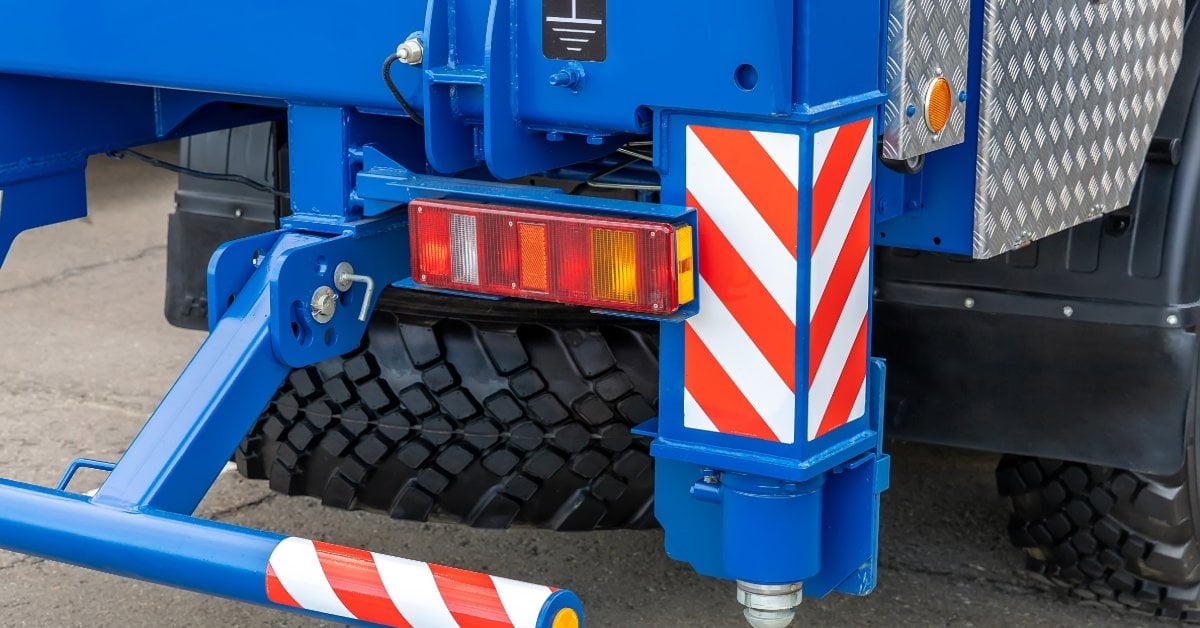
Switching from incandescent tail lights to LEDs is a smart move for medium-duty trucks and stepvans. LEDs draw less current and shrug off vibration, which is a big plus for vehicles that rack up miles on rough roads. Still, making the change involves more than just swapping bulbs, and there are a few extra steps to get it right.
If you’re looking to wire LED tail lights to replace incandescents, start by identifying the existing circuit. A careful conversion preserves every lighting function intact and ensures your wiring stays protected from moisture down the road.
Identify Every Tail Light Function
Many rear lamps perform more than one job. A combination lamp may operate as a dim tail light when the headlights are on, but becomes brighter when the driver applies the brakes. Before you disconnect anything, figure out which wire does what.
The wire color might give you a hint, but don’t rely on it alone! Different manufacturers use their own wiring codes, and past repairs can throw in a few surprises. Use the vehicle wiring information when available.
Confirm the Ground Circuit
The ground wire is what completes your circuit. If the ground is weak, your LED might flicker or even cause weird cross-talk between lighting functions.
Some old incandescent housings ground themselves through the mounting bolts. Depending on the lamp design, the LED assembly may use a dedicated ground wire, a pin connection, or another grounding arrangement. If your new lamp has a ground lead, make sure to connect it to a clean, solid ground point or tie it into the existing ground circuit.
Compare the Old and New Connectors
LED tail lights use several connection styles. Some have hardwired leads, while others accept a PL-3 plug or a sealed manufacturer-specific connector. A lamp designed as an OEM-style replacement may also connect directly to the existing harness.
Take a close look at your old plug before you order a new LED assembly. Count the terminals, check the connector shape, and make sure the locking tab matches up. If the connectors don’t match, look for an adapter that fits!
Do Not Force a Connector
A connector should snap in firmly, but you shouldn’t have to force it. If it doesn’t fit, double-check your part number. Forcing the wrong terminals can ruin the seal and cause trouble down the line. Having loose connections are just as bad. Vibration on the road can break the circuit, so a light that works in the shop might quit halfway through your route.

Check LED Polarity Before Final Installation
Incandescent bulbs produce light regardless of the current direction through the filament. On the other hand, LEDs and LED lamp assemblies may be polarity-sensitive, depending on their internal circuitry. Follow the lamp manufacturer’s wiring diagram rather than assuming the existing polarity. The positive lead and ground must connect correctly for the lamp to operate. If your new LED doesn’t light up during testing, don’t assume it’s a dud right away. Double-check your ground first, then make sure the power wire is connected right.
Polarity issues often pop up after a harness has been modified, or when the old lamp used the housing for ground. Test the voltage right at the connector, and it will tell you if power is getting to the right spot. Never reverse wires at random! Use the lamp diagram when one is provided.
Prepare the Existing Wiring
Follow the vehicle manufacturer’s electrical-service procedure before cutting or splicing wiring; when appropriate, disconnect the battery or isolate the circuit to prevent accidental shorts. This simple step helps prevent shorts and keeps your tools from sparking if they touch a live wire. Take out the old lamp carefully, then check the harness around it. Watch for cracked insulation or old repairs that are starting to come apart.
If you spot corrosion inside the connector, don’t ignore it. Even the best LED can’t overcome resistance from a bad terminal. If cleaning doesn’t fix it, replace the plug to make sure you get a solid connection.
Cut back any damaged wire until you see clean copper. Then, leave yourself enough slack to make a solid repair without stretching the new connection. If the harness ends up too short, splice in a proper length of automotive wire.
Handle Turn-Signal Flash Rate Problems
LED lamps use less current than old-school bulbs. If your truck has a thermal flasher, it depends on that current draw to set the flash rate. With LEDs, you might see the turn signal flash too fast, or not at all.
A compatible electronic flasher can solve the issue on many vehicles. It controls the flash rate without depending on the original incandescent load. Some applications even use a connector with an integrated resistor instead. Never mount a load resistor to plastic, and keep it clear of any wiring insulation.

Follow a Careful Wiring Sequence
Do one side at a time so you can use the untouched lamp as a reference, and label every wire before you cut the old connector off.
Use this process during the installation:
- Confirm the function of each existing wire.
- Disconnect vehicle power before cutting the harness.
- Compare the old plug with the LED connector.
- Install the correct adapter when one is available.
- Make sealed splices when an adapter will not work.
- Connect the ground to a clean point.
- Test every function before mounting the lamp.
- Secure the harness away from sharp edges.
- Recheck the light after a road test.
Following this sequence lets you sort out any wiring issues before you bolt everything down. If something doesn’t work during testing, you can get to the wiring without having to pull the lamp back out.
Test Every Lighting Function
Reconnect the vehicle’s power after completing the wiring. Start with the tail-light function. The lamp should illuminate at its lower intensity. Next, test the brake light. The output should become noticeably brighter. Then activate the turn signal and confirm that the correct side flashes.
Turn on the hazard lights as well. Both rear lamps should respond correctly. If the vehicle uses separate amber turn signals, verify those assemblies independently. Don’t stop just because the LEDs light up! Make sure there’s a clear difference in brightness between the tail and brake functions. If both are the same, you might have a wiring mix-up.
Complete the LED Conversion
A solid LED upgrade starts with knowing your original circuit. Always prioritize safety when wiring LED tail lights to replace incandescents, as a complete conversion process helps prevent recurring problems. Confirm the connector before cutting wires. Protect every splice from moisture. Then test each function under realistic conditions.
Ready to replace dim incandescent lights or correct unreliable rear wiring? Mill Supply, Inc. stocks LED lighting components that help restore dependable visibility on stepvans and medium-duty trucks. You can also find box truck replacement parts for related repairs that keep commercial vehicles ready for daily service. Choose compatible components from Mill Supply and give your truck lighting that performs reliably on every route.
Leave a Reply