
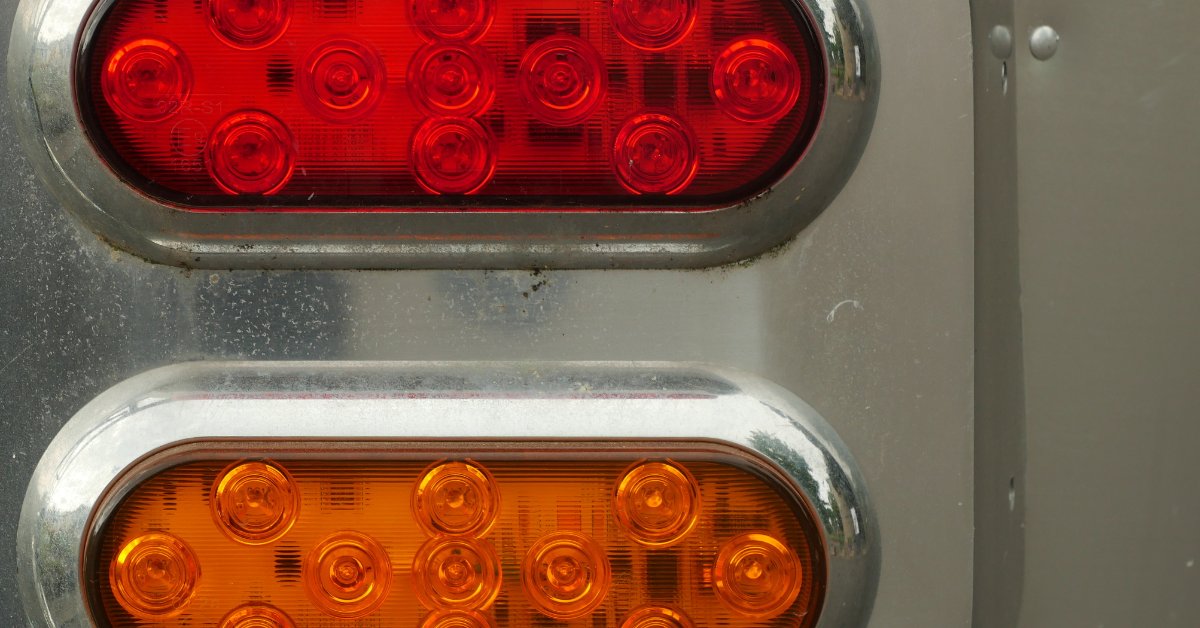
LED reverse lights boost visibility behind stepvans in alleys and tight yards. But most stepvans are designed for the higher current draw of incandescent bulbs, while LEDs use much less power.
This mismatch often causes flicker, bulb-out warnings, or a reverse lamp that glows faintly when it should be off. To upgrade to LEDs, match the truck’s circuit behavior instead of guessing. Read on to learn how to check your circuit and install backup light adapters for LED upgrades.
Identify the Reverse Light Circuit
Confirm the bulb base and connector style first. Most stepvans use 1156 or wedge bases, but some use sealed assemblies with a pigtail connector. Check for dash bulb-out indicators — these suggest the truck’s system monitors lamp load, though reverse circuits on older commercial platforms are less likely to use active monitoring than turn signals or brake lights. Identifying fit and monitoring early helps you avoid fitment and flickering problems.
Check for pulsing or control modules that cause ghosting. With the engine running, shift into reverse and measure voltage at the lamp connector. Tiny pulses can make an LED glow faintly. When you know the circuit behavior, choose an adapter that fixes the problem.
What Backup Light Adapters Do
Most backup light adapters address load, polarity, connector mismatch, or signal smoothing. Load adapters add parallel resistance to mimic the current draw of an incandescent lamp.
Polarity adapters, on the other hand, fix cases where the LED won’t light because the leads don’t match the driver’s expectations. Choose the simplest adapter that solves the problem, as extra hardware often means more failure points.
Use this as a quick check before buying parts:
- Bulb-out warning: load resistor or decoder module
- Flicker at idle: check voltage drop first, then decoder or load solution
- Dim glow when off: decoder or filter-style adapter
- No light at all: polarity check or connector mismatch
Choose the Correct Load Resistor Value and Wattage
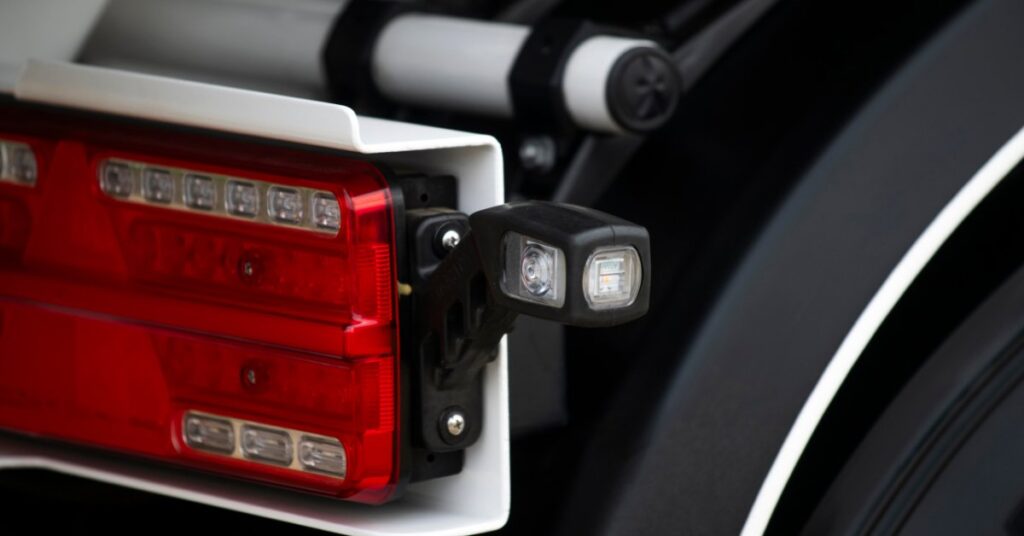
Size load resistors correctly. A typical 1156 incandescent reverse bulb uses about 27 watts, and the vehicle expects a similar load. Most installers use a 6-ohm resistor as a practical match. At 14 volts, it draws roughly 2.3 amps, or about 33 watts. Use a resistor rated well above that, typically 50 watts.
Use resistors only when an extra load is needed, not for signal filtering. For pulsing problems, a filter-style adapter solves the issue with less heat and risk.
When a Resistor Won’t Fix Flicker
If the circuit uses PWM or diagnostic pulsing, adding load may not remove visible flicker. The LED driver can still respond to the pulse shape, even when the system sees the correct current draw. Use a decoder or filter module for pulsed circuits, and confirm pulsing before installing resistors, as heat can cause extra problems.
Mount Resistors Safely on Stepvans
Resistors can get hot enough to melt plastic and damage insulation. Always mount on metal, with airflow, away from weatherstrips and cargo areas.
Stepvans collect moisture near the rear doors, accelerating corrosion, so keep splices and resistor connections above low points. These common mounting mistakes cause long-term failures that create preventable safety risks. Here are a few common mistakes to avoid while mounting resistors:
- Zip-tying a resistor to wiring bundles
- Taping a resistor to plastic trim
- Hiding a resistor behind insulation or carpeted panels
- Mounting where the cargo can strike it
Handle Polarity and Connector Fitment Cleanly
Incandescent bulbs ignore polarity, but many LED upgrades require correct polarity. If an LED fails to light, test the socket polarity before swapping parts. Use polarity adapters to standardize installs across fleets.
Connector condition is as important as style. Worn sockets and corroded terminals cause flicker, mistaken for compatibility issues. Clean contacts, ensure terminal tension, and replace damaged pigtails as needed.
Install Adapters With Fleet-Grade Wiring Practices
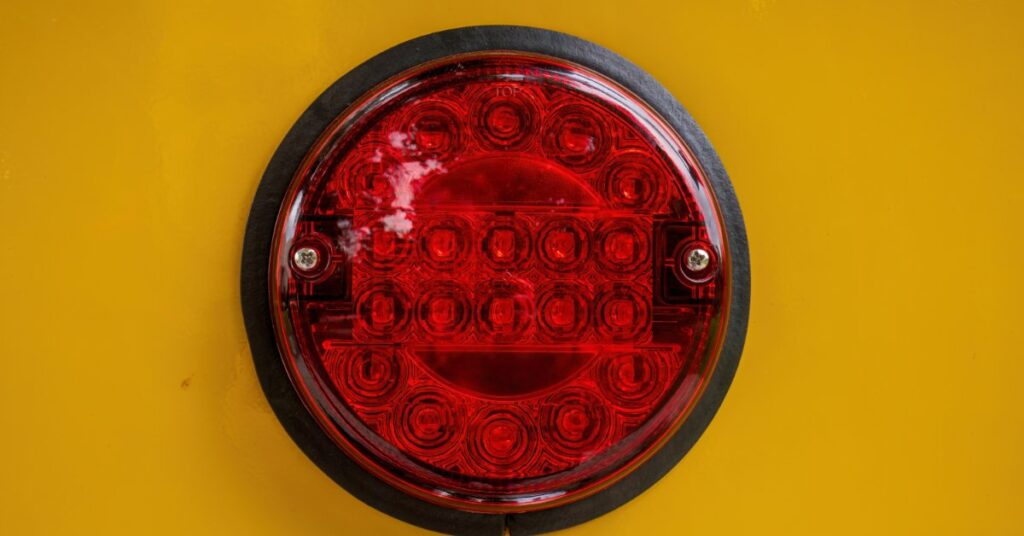
Plug-and-play adapters work best when you take the time to route and support. Start by cleaning and fully seating the connector, then secure the harness so it doesn’t hang or tug. Make sure to route wiring away from hinges and sharp edges, and add abrasion protection wherever the harness crosses sheet metal.
These steps keep your wiring safe from wear and reduce future problems. When splicing, use methods that withstand vibration and moisture. Avoid quick-tap connectors because they cut strands and invite corrosion.
What “Clean” Looks Like
A clean rear-lamp install should be easy to service later. Techs can unplug everything without cutting wires, and a well-supported harness stays tight even with constant vibration. By keeping wiring away from moving parts near doors, you prevent damage and make future repairs much simpler.
Troubleshoot the Most Common Post-Install Issues
If flicker continues after adding a resistor, check ground quality and voltage drop first. Weak grounds cause unstable LED behavior with any adapter. If the LED glows faintly with reverse off, you likely have pulsing. Use a filter-style adapter instead of adding a load. If the dash still shows a fault, confirm the resistor value and wattage; the module may expect a specific load. If you smell hot plastic, immediately fix the resistor mounting.
If the LED doesn’t light, test polarity and confirm pinout. If polarity is correct, check socket tension and connector seating, as poor contact can cause power loss under vibration. Here is a simple checklist for fleets during installation:
- Confirm bulb base and connector style before ordering adapters.
- Measure the voltage and ground drop at the lamp with the engine running.
- Identify pulsing or monitoring before choosing resistors.
- Mount resistors to metal with clearance from wiring and trim.
- Secure harness routing away from hinges and sharp edges.
- Test for flicker and ghosting at idle and under load.
- Validate the light pattern in a real backing scenario.
Keep LED Reverse Upgrades Reliable
LED reverse lights add real value when they stay reliable through weather and daily use. Choosing the right adapter is important, but a disciplined installation matters just as much. Treat the installation of the backup light adapter as electrical compatibility work, not just a bulb swap, to prevent flicker, ghosting, and warning lights. This approach protects the rear harness and keeps the system easy to service.
Looking for stepvan parts that help you finish upgrades the right way? Mill Supply has you covered with dependable replacement components that support cleaner installs and lighting you can trust. Stock what you need now so your stepvan stays reliable, compliant, and ready for the next shift!
Leave a Reply