
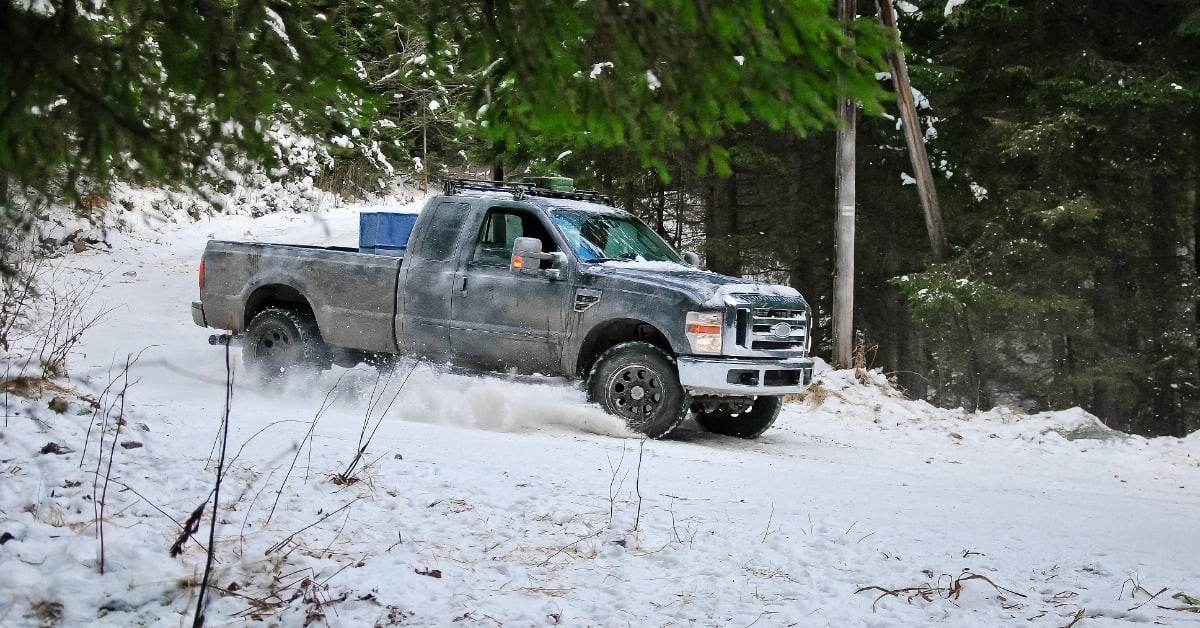
Upgrading your snow plow mount is a major step toward tackling the harsh winter. A well-executed upgrade prepares your vehicle for the toughest snowfalls and extends the life of your equipment. For those looking to complete a seamless and successful plow-mount upgrade, this guide provides the tips needed to get the job done right. We’ll walk you through everything from initial checks to final adjustments so that you can tackle the winter season with ease.
Why Upgrade Your Plow Mount?
You might wonder why an upgrade is necessary, especially if your current setup seems to be working. An older or incompatible mount can cause poor plow performance and even damage your vehicle’s frame. A new, correctly fitted mount provides a solid connection between your plow and vehicle. This stability allows for more effective plowing and reduces stress on both components.
Moreover, modern mounts are designed with user convenience in mind. Many feature quick-disconnect systems that make attaching and detaching your plow simple. Upgrading can save you valuable time and effort before and after each plowing season.
Step 1: Confirm Vehicle and Plow Compatibility
The first step in any upgrade is to confirm compatibility. Not all mounts work with all vehicles or plows. An incompatible mount will not fit correctly, posing a serious safety hazard on the road.
Check Manufacturer Specifications
Always start by consulting the manufacturer’s guidelines for both your vehicle and your snow plow. These documents provide detailed information about which mount models are designed for your specific truck. Cross-referencing the year, make, and model of your vehicle is a critical part of this process. This simple check prevents you from purchasing the wrong equipment.
Use Online Compatibility Tools
Many manufacturers and retailers offer online tools to help you find the right parts. Enter your vehicle’s details to see a list of compatible mounts. These databases are regularly updated with the latest product information, taking the guesswork out of your selection. It’s a reliable way to verify that the mount you’re considering is the right one for your setup.

Step 2: Gather the Necessary Tools and Parts
Once you’ve identified and purchased the correct mount, gather all required tools and parts. Having everything ready before you begin will make the installation process much smoother. After all, disorganization can lead to frustration and mistakes.
You will typically need a set of socket wrenches, torque wrenches, and, if required by the installation instructions, a drill to create new holes. Safety gear, like gloves and eye protection, is also highly recommended. Lay out all the bolts, brackets, and other hardware included with your new mount kit. Compare them to the parts list in the installation manual to confirm nothing is missing.
Step 3: Remove the Old Plow Mount
With your tools ready, it’s time to remove the old mount. This step requires patience and a bit of physical effort. It’s a good idea to apply a penetrating oil to all bolts and nuts a few hours before you start, especially if they show signs of rust or corrosion. This will make them easier to loosen and take off.
Begin by carefully unbolting the old mount from your vehicle’s frame. Work systematically, removing one section at a time. Keep track of which bolts go where, although you’ll likely be using new hardware for the new installation. Once you have removed all the bolts, the old mount should come off. You may need a helper for this part, as the assembly can be heavy and awkward to handle on your own.
Step 4: Prepare the Vehicle Frame for Installation
After removing the old mount, inspect your vehicle’s frame. Check for any signs of rust, cracks, or other damage that the old hardware might have hidden. This is the perfect opportunity to address any issues before installing the new mount.
Clean the frame area thoroughly. Use a wire brush to remove any rust, dirt, or debris. A clean surface is required for a secure, proper fit. If you find any significant frame damage, it is best to have it repaired by a professional before proceeding with the installation. Installing a new mount on a compromised frame can lead to serious problems down the road.
Step 5: Install the New Plow Mount
Now you’re ready to install your new plow mount. Start by loosely attaching the main brackets to the vehicle’s frame, following the instructions provided in your manual. Do not tighten the bolts completely at this stage. Leaving them slightly loose allows for minor adjustments, which are often necessary to get everything aligned perfectly.
Attach all the components of the mount assembly as directed. Pay close attention to the orientation and position of each bracket and plate. Once everything is in place and properly aligned, you can begin to tighten the bolts. Use a torque wrench to tighten all fasteners to the manufacturer’s specified torque settings. This step is critical for safety and ensures the mount is securely attached to your vehicle.
Step 6: Final Checks and Adjustments
With the new mount fully installed, it’s time for some final checks. Attach your snow plow to the new mount to test the connection. Check that the plow lifts, lowers, and angles correctly. Listen for any unusual noises and look for any signs of binding or interference.
Additionally, verify that the plow height and pitch are set correctly according to the manufacturer’s recommendations. Proper alignment affects how well the plow clears snow and reduces wear on the cutting edge. Make any necessary adjustments to the lift chain or other components to achieve the optimal setup. A test run in an open area can help confirm everything is functioning as it should.
Your Path to a Better Plow Setup
Completing your equipment upgrade correctly is the best way to prepare for winter. By following these tips for a seamless and successful plow mount upgrade, you can be confident that your equipment is ready for whatever the season throws at you. Taking the time to ensure compatibility, prepare your vehicle, and follow installation instructions will pay off with reliable performance all winter long.
Looking for reliable and durable snow plow parts to keep your equipment running smoothly all season long? Mill Supply has everything you need to tackle harsh winter conditions confidently. Explore our wide selection and find the perfect fit for your snow plow today!
Leave a Reply